Version Control Lab
Set up
- 💻 Double-check that git is installed by running
which gitin Terminal. You should see the path where git is installed. If you see nothing, check with a teacher. - 💻 Configure git: Type each of these commands into Terminal. Make sure to replace the information inside the
< >with your information.git config --global user.name <Your name>git config --global user.email <Your school email>git config --global core.editor "atom --wait"git config --global commit.template .commit_template
Your first repo
You have already cloned a few git repositories (remember typing git clone ...?) Cloning means pulling a copy of a repository down from github onto your
own computer. Now we are going to take the next step, forking a repository
(making your own copy) and adding to it.
From now on, your homework, labs, and projects will be provided as git repositories. We are going to start now, by setting up your final project for this unit.
Join github
You should have recieved an email inviation to join the ISF GitHub organization. If you did not, let a teacher know.
💻 Start by making a github account for yourself.
- Click on the “Join @the-isf-academy” button in the email from GitHub
- Enter a username, email address, and password.
- Your username should not include your real name.
- Please use your school email account.
- Write your password down somewhere!
- You should get a verification email. Click the link to prove it’s your email address.
Creating your fork
Your teachers have already created a repository for the unit project. Each student will have a fork of this repository, so they have their own copy.
💻 First, let us know what your GitHub username is in this Google Sheet.
Then, you should be able to find your repository in your GitHub dashboard.
It will be named project-animation-<YOUR-GITHUB_USERNAME>.
Click it and you should see a screen like the one below.
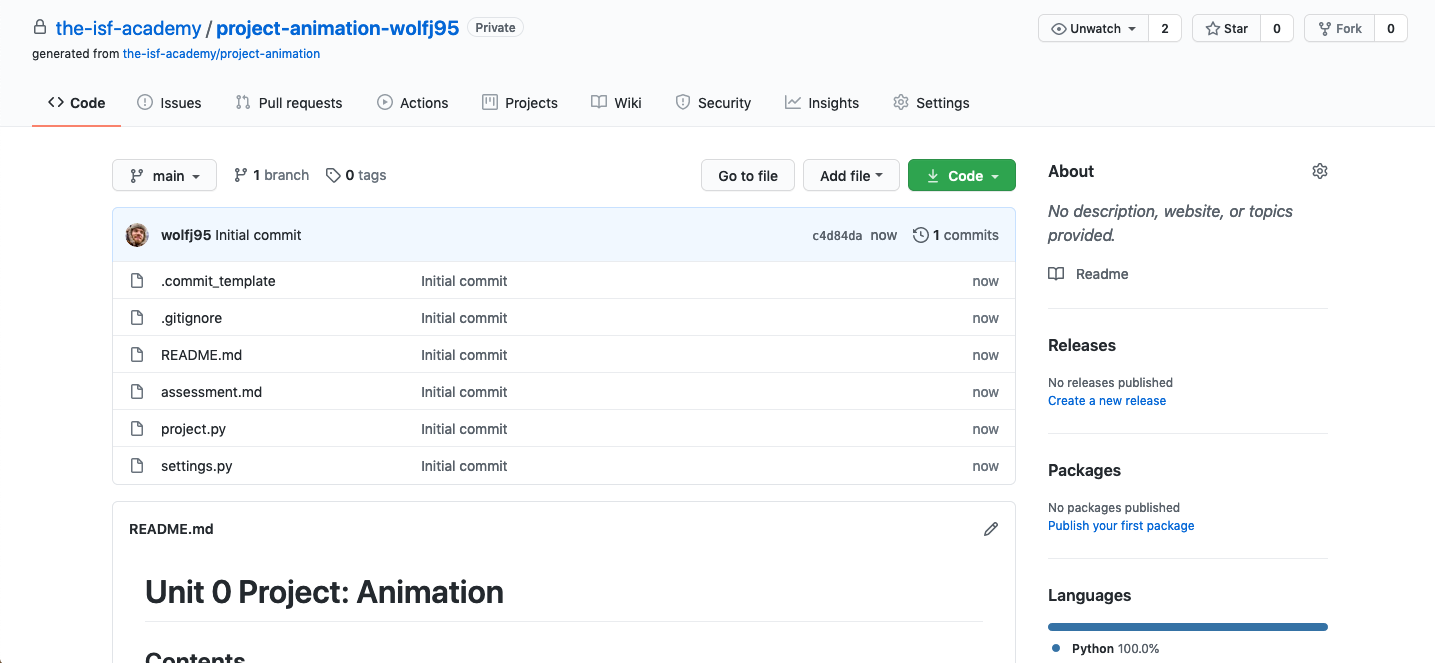
GitHub
Cloning your fork
💻 Now you are going to clone your repo, so there’s a copy on your computer. If you
look at the following commands, you’ll see that the git clone command has a
******. You need to replace this with your repo’s URL, which you can get by
clicking on the green “Clone or download” button.
cd ~/Desktop/cs9/unit_0/
git clone ******
Now you have a directory called ~/Documents/cs9/unit_0/project-animation-yourusername. 💻 Let’s go into the project folder and have a look inside:
cd project-animation-yourusername
tree .
There are just a few files in the project right now. 💻 You can also see the history of changes to this repository, from before you forked it.
git log
Press q to leave the git log viewer.
✅ CHECKPOINT:
Check in with your group, and make sure everyone has completed the steps above. Once your whole group is ready, raise your hand to check in with a teacher.
Working with Git
Whenever you are working on a project, you will go through four steps:
- Edit files: Work on all the files in this project just like normal.
- Review changes: Look at your changes and make sure you are happy with them.
- Commit: Save your changes to the repository.
- Push: Push your copy of the repository up to github.
Let’s practice.
Step 0: Edit files
Today we are going to start working on the project, starting with the design.
💻 Open the README.md file using Atom:
atom README.md
As you’ve seen before, README files are like a guide to what’s contained inside
a repository and how to use it. Once your project is complete, your README file
will serve this purpose.
There are four sections here: Planning, How to use, Settings, and Modules. Each section has some text explaining what’s expected. You should replace this text with descriptions of your project.
To get started, you will link your design document into your README.md file.
💻 Find your project design document in your Google Drive.
Copy the url, and paste it into your README.md file in Atom.
You can use the follow syntax to create a hyperlink:
[Here is the link to my design document.](www.url.com)
👾 💬 FYI
This file is written in a simple language called Markdown that allows you to format text. Here’s a quick guide to markdown. When you have a.mdfile open in Atom, you can preview the rendered version with the following menu option:Packages > Markdown Preview > Toggle Preview.
Step 1: Review changes
Once you have made some changes to README.md, save your work in Atom and go
back to the Terminal. Let’s use git to see what changes you have made. 💻 Type:
git status
You will see the following message:
On branch master
Your branch is up to date with 'origin/master'.

Changes not staged for commit:
(use "git add <file>..." to update what will be committed)
(use "git checkout -- <file>..." to discard changes in working directory)

    modified:   README.md

no changes added to commit (use "git add" and/or "git commit -a")
Read the whole message. It is telling you that only file that you
have changed is README.md. Yup. But what changes did you make? 💻 Let’s use
another command to get some more detail:
git diff
Now you will see a description of what you have added and what you have removed
from README.md:
diff --git a/README.md b/README.md
index 0d8c5de..d0eeb94 100644
--- a/README.md
+++ b/README.md
@@ -12,7 +12,7 @@ Here's what is included:
 - `settings.py` This is where you will store your settings for your animation. Feel free to add more settings to further parameterize your project.

 ## Planning
-<Insert a link to your planning document here.>
+[Here is a link to my planning document](www.url.com)

 ## How to use
 <Describe how to run your animation here.>
You should always run git status and git diff before you add changes to your
repository, to make sure you’re saving the changes you meant to add. If you
noticed any typos, or want to add something, edit README.md in Atom again,
and then run git status and git diff again.
Step 2: Commit
Now it’s time to add these changes to your repository. A commit is a
collection of one or more changes that belong together. For example, if you
wanted to add a photo of a sketch to your README document, you would need to
edit README.md, telling it to include the photo. You would also need to add
the image file itself to the repo. These two changes belong together, so they
should be part of the same commit.
You will prepare a commit by adding all the files that have changes.
💻 Right now, it’s just README.md, so let’s add it to a new commit:
git add README.md
Run git status again, and you will see that README.md has gone from red to
green because it has been added to a new commit.
On branch master
Your branch is up to date with 'origin/master'.

Changes to be committed:
(use "git reset HEAD <file>..." to unstage)

    modified:   README.md
Now we are ready to finalize the commit. 💻 Type git commit and you will see an
Atom file open. It’s time to describe what you did, using a commit message.
Every time you commit code, you need to write a message explaining what you have done. Anybody reading your code (teachers, peers, a future version of you) will read the log of your changes to understand what has been happening on the project. The file that opens contains a template explaining how to write your commit message.
Once you finish, save the file and close it. Run git log to see the history of
your project. You should see your commit right at the top. Congratulations!
Step 3: Push
Now it’s time to sync the copy of your repo with the copy on github.
💻 Type git push. Reload your repository page on Github (remember the green button?).
You should see your updated version of your README.md at the bottom of the page.
This probably felt like a lot of work just to save your work. That’s true. But it will get easier as you get used to it, and you will start to see the value of using git when you start working on bigger projects. If you’re not glad you learned git five years from now, come see us and we’ll give you some extra credit or something :)
✅ CHECKPOINT:
Check in with your table group and make sure everyone succeeds in committing a change. Once everyone has succeeded, check in with a teacher.
Deliverables
There is no file to turn in for this lab. Instead, you are expected to complete the instructions in this lab, so that your teachers can see your final project repository with a new commit message from you.